One stop supplier of water treatment parts&accessories


Where to buy ro membrane housing? Best places to find high-quality ro membrane housing online
Okay, so today I wanna talk about setting up a RO membrane housing. I’ve been messing around with water purification stuff for a while now, and I finally got around to documenting this part. It’s not rocket science, but it’s kinda satisfying to get it all working right.
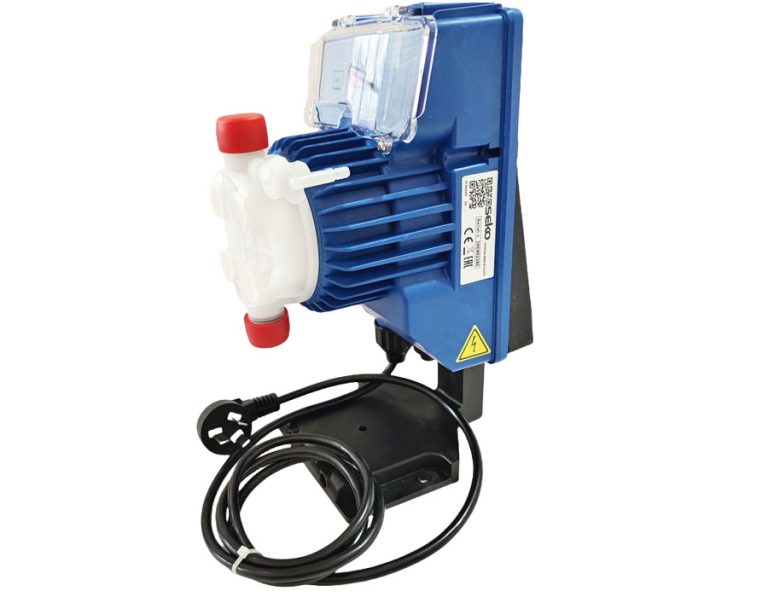
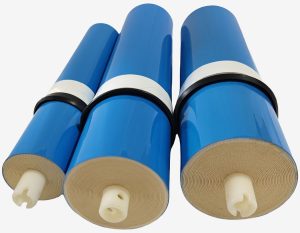
First off, I gathered all the parts. I had this stainless steel housing, which I picked because it looked sturdy and wouldn’t corrode like some of the plastic ones. I also needed the actual RO membrane, and I went with the Dow Filmtec one ’cause I heard it’s pretty good. The feed water pressure at my place is a bit low, so I made sure the membrane could handle that.
Choosing the Parts
- Picked a stainless steel housing for durability.
- Got a Dow Filmtec membrane, ’cause it’s supposed to be reliable.
- Checked the feed water pressure to make sure everything matched up.
Next, I started assembling everything. I opened up the housing and slid the membrane in. It’s a snug fit, but that’s what you want. Then I screwed the end caps on. These housings come with different types of end plugs, so I made sure to get the right ones for my setup.
Putting It Together
- Opened the housing.
- Carefully inserted the membrane.
- Tightened the end caps.
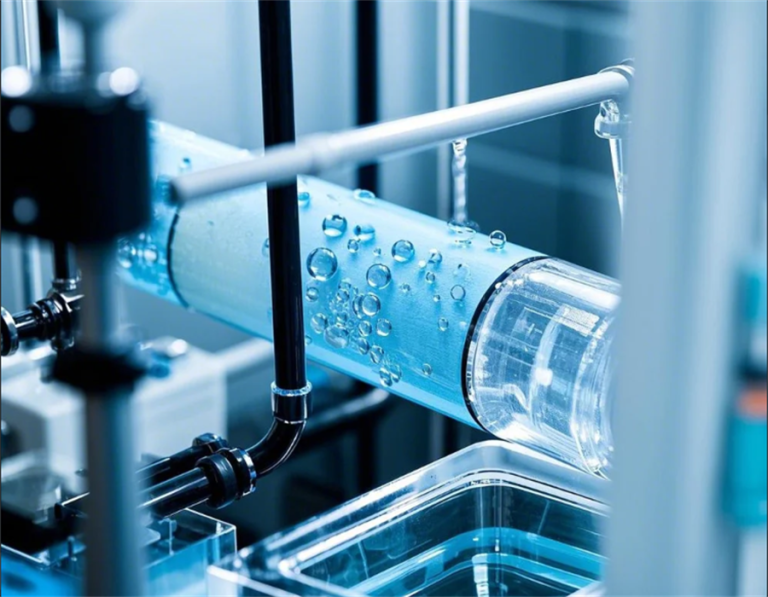
Once it was all assembled, I hooked it up to my water line. This was probably the trickiest part, just making sure there were no leaks. I used some thread seal tape on the fittings, which seemed to do the trick. I slowly turned on the water, checking for any drips or sprays. This part took some patience, but eventually, I got it all sealed up.
After everything was connected and leak-free, I ran some water through the system. At first, the water that came out was a little cloudy, but that’s normal. I let it run for a while, and it started to clear up. I tested the water’s conductivity, you know, just to see if the membrane was doing its job. Pure water doesn’t conduct electricity well, so a lower reading means it’s working.
Testing and Running
- Connected the housing to the water line.
- Carefully checked for leaks and sealed them up.
- Ran water through the system to flush it out.
- Tested the water quality using a conductivity meter.
And that’s pretty much it. Now I have a working RO system, and the water tastes way better. It’s one of those things that’s not too hard to do yourself, and it feels good to know you’re drinking cleaner water. Plus, it’s kinda cool to see how it all comes together.