One stop supplier of water treatment parts&accessories


The Ultimate Guide to Whole House Water Filter Diagrams
In the journey to ensure clean and safe water for your home, understanding whole house water filter diagrams is essential. These diagrams act as blueprints, showing how different components work together. But why are they so crucial? Let’s find out.
Water Quality Woes We Encounter
Cloudy and Discolored Water
Have you ever seen your tap water looking murky or with a strange hue? Cloudy water might have sediment or air bubbles. Discolored water, like a brownish tint, could be due to rust or other contaminants. For example, in older homes, pipes can corrode, leading to such water issues. This not only looks unappealing but can also be a sign of poor water quality.
Unpleasant Odor and Taste
Water with a foul smell or odd taste is a major turn – off. A musty odor might mean bacteria or mold in the water supply. A chlorine – like taste, often too strong, can be a result of over – chlorination. These problems not only make water unenjoyable to drink but can also indicate potential health risks.
Hard Water Challenges
Hard water, rich in minerals like calcium and magnesium, causes various problems. It leads to scale buildup in pipes and appliances. According to a study by the American Water Works Association, hard water can reduce the lifespan of water – using appliances by up to 30% (Source: American Water Works Association). This results in costly repairs and replacements over time.
How Whole House Water Filter Diagrams Provide Solutions
Visualizing the Filtration Process
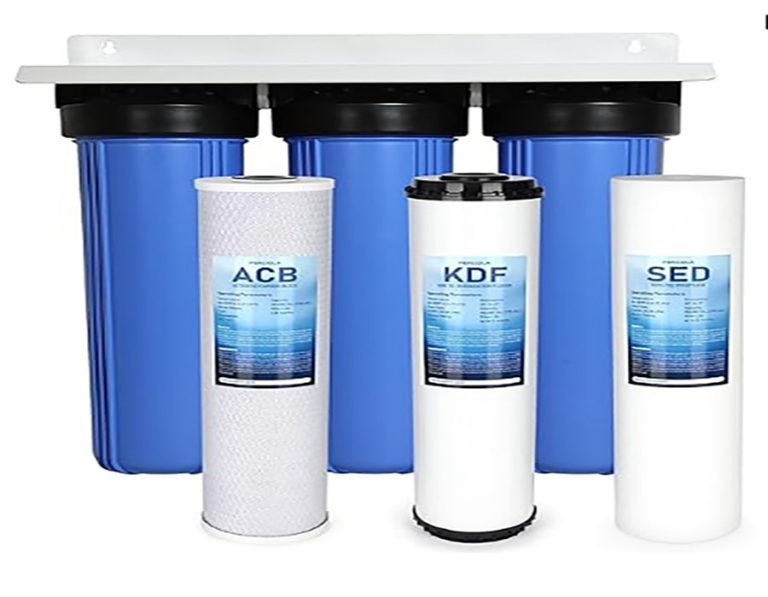
A whole house water filter diagram clearly shows the multi – stage filtration process. Usually, it starts with a sediment filter that traps large particles like sand and dirt. Then comes a carbon filter, which removes chlorine, odors, and some organic compounds. Some advanced systems include a reverse osmosis stage, which can eliminate even the tiniest contaminants. The diagram helps you understand how water moves through these stages to get purified.
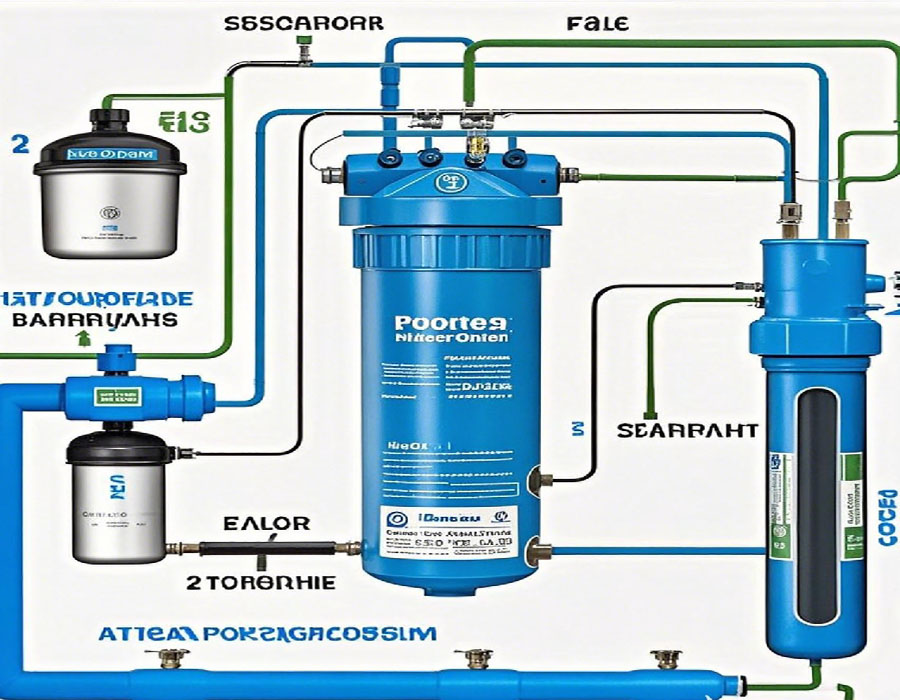
Identifying Key Components
These diagrams highlight the key components of the system. For instance, the pressure gauge, which shows the water pressure in the system. If the pressure is too low or too high, it can affect the filter’s performance. Another important component is the control valve, which manages the flow of water through the filter and the regeneration process in some types of filters.
Customizing the System
With a whole house water filter diagram, you can customize the system according to your water needs. If you have high iron content in your water, you can add a specific iron – removal filter to the system. The diagram allows you to see how this new component will fit into the existing setup, ensuring effective filtration.
Comparing Different Whole House Water Filter Systems Using Diagrams
Let’s compare two common whole house water filter systems using their diagrams:
| Features | System A Diagram | System B Diagram |
| Filtration Stages | 3 – stage: sediment, carbon, sub – micron filter | 4 – stage: sediment, carbon, reverse osmosis, post – carbon filter |
| Contaminants Removed | Sediment, chlorine, some heavy metals | Sediment, chlorine, heavy metals, bacteria, viruses, dissolved salts |
| Water Flow Rate Indication | Shows a flow rate of 8 GPM (gallons per minute) | Indicates a flow rate of 6 GPM |
| Maintenance Points | Highlights filter replacement intervals of 6 months | Points out more frequent filter replacements: 3 – 4 months for reverse osmosis membrane and 6 months for other filters |
| Price Range (Based on Complexity Shown) | 500−800 | 800−1200 |
As seen, System B offers more comprehensive filtration but has a lower water flow rate and higher maintenance and cost. System A is more budget – friendly with a decent water flow rate.
Our Experience with Whole House Water Filter Diagrams
Our team, in a 2025 case, was working with a family that had been struggling with hard water and water contamination issues. We used a whole house water filter diagram to design a customized system for them. After installation, the family noticed a significant improvement in water quality. Their appliances worked better, and the water tasted and smelled great. It was a clear example of how these diagrams can be a game – changer.
Using Whole House Water Filter Diagrams: A Step – by – Step Guide
Step 1: Analyze Your Water Quality
The first step is to understand your water problems. You can conduct a simple home water test or hire a professional. Based on the results, you can determine what contaminants need to be removed. This analysis will guide you in interpreting the whole house water filter diagram.
Step 2: Study the Diagram Basics
Familiarize yourself with the symbols and components in the whole house water filter diagram. Know what each part does, like the filter cartridges, bypass valves, and pressure regulators. This knowledge will help you understand how the system works.
Step 3: Evaluate Filtration Stages
Look at the filtration stages shown in the diagram. Decide if the current stages are sufficient for your water needs. If not, consider adding or modifying stages. For example, if your water has high levels of heavy metals, you might need to add a specialized heavy – metal – removal stage.
Step 4: Check for Compatibility
Make sure all the components in the whole house water filter diagram are compatible with each other. The size of the pipes, the capacity of the filters, and the power requirements of any electrical components should match. Incompatible components can lead to system failures.
Step 5: Plan for Maintenance
Use the whole house water filter diagram to plan for maintenance. Note the filter replacement intervals, the location of drain valves for flushing, and any parts that need regular inspection. A well – planned maintenance schedule ensures the system runs smoothly.
Common Mistakes to Avoid When Using Whole House Water Filter Diagrams
⚠ Note: One common mistake is misinterpreting the diagram. For example, confusing the flow direction of water can lead to incorrect installation. Another mistake is not updating the diagram when making changes to the system. If you add a new filter or modify a component, the diagram should reflect these changes. Also, don’t assume that all diagrams are suitable for your specific water source. Always choose a diagram that aligns with your water quality and home setup.
Conclusion
In conclusion, whole house water filter diagrams are invaluable tools for ensuring clean and safe water at home. They help you understand, customize, and maintain your water filtration system. By following the steps above and avoiding common mistakes, you can make the most of these diagrams.
Checklist
- Analyze your water quality accurately
- Learn the basics of whole house water filter diagrams
- Evaluate and modify filtration stages as needed
- Ensure component compatibility
- Plan a proper maintenance schedule
- Avoid misinterpreting the diagram
- Update the diagram when making system changes