One stop supplier of water treatment parts&accessories


how to install ro membrane
How to install ro membrane? Installing RO (reverse osmosis) membrane is a critical step in maintaining your water purification system’s efficiency. This guide breaks down the process into clear, structured steps while ensuring natural keyword integration.
The installation steps of reverse osmosis membrane are as follows:
1. Preparing for RO Membrane Installation
Before learning how to install RO membrane, gather these essentials:
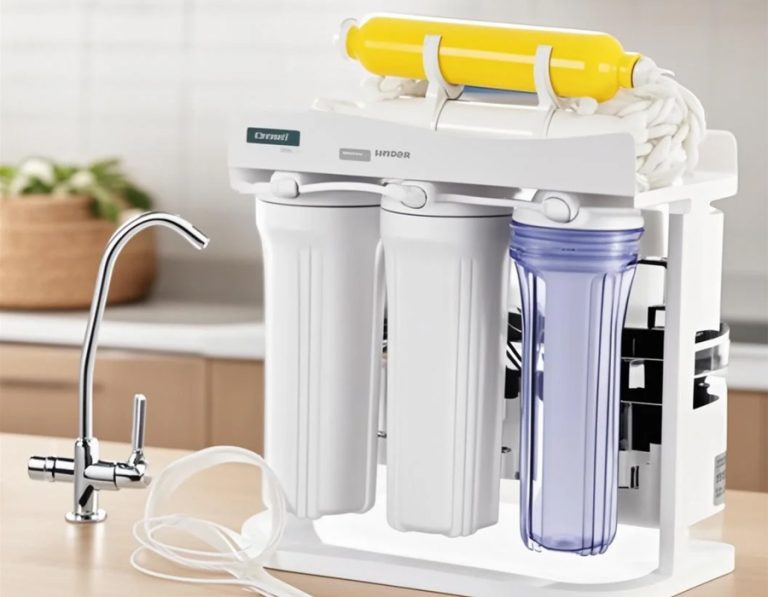
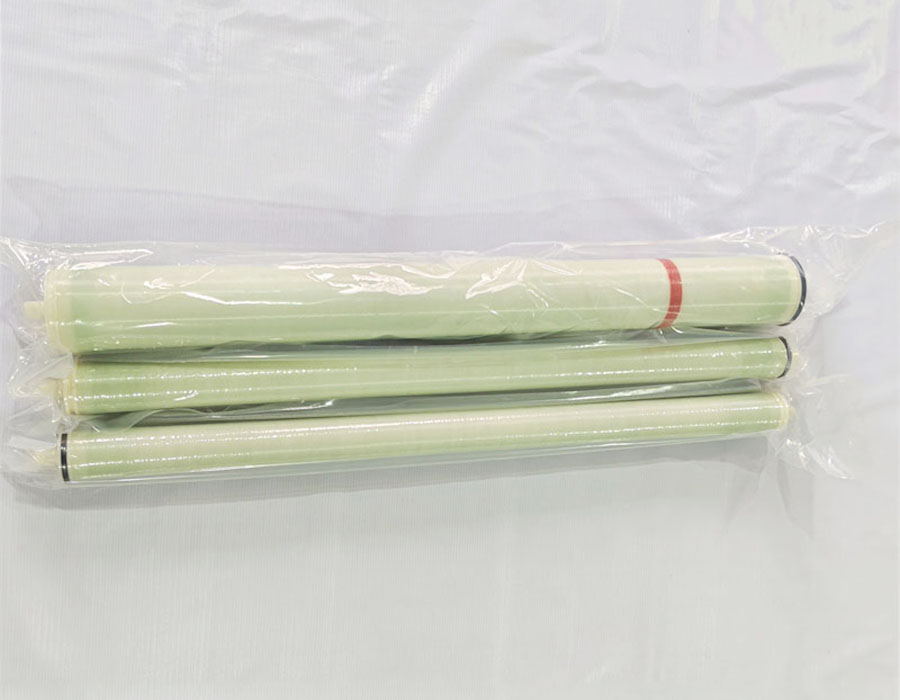
- Replacement RO membrane (check compatibility with your system).
- Lubricant (food-grade silicone grease).
- Wrench set, bucket, and gloves.
- Owner’s manual for reference.
Tip: Shut off the water supply and depressurize the system by opening the faucet until water stops flowing.
2. Removing the Old RO Membrane
To safely replace the membrane:
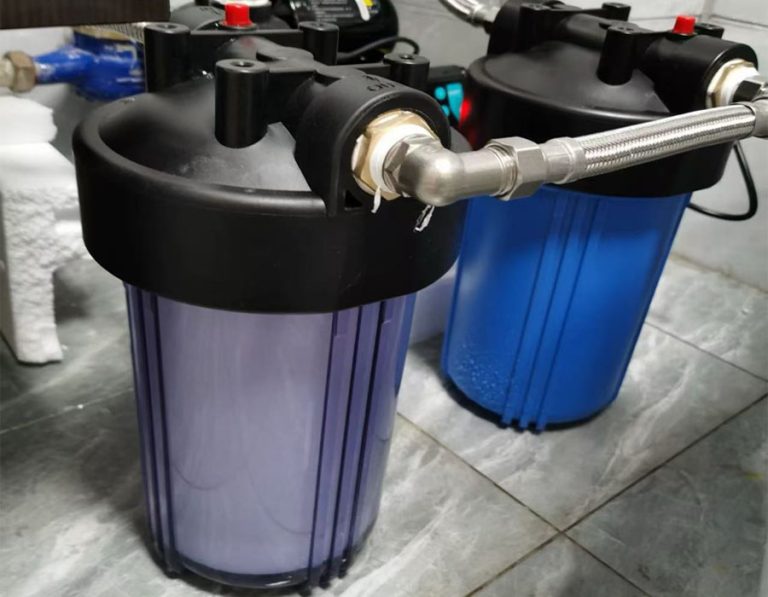
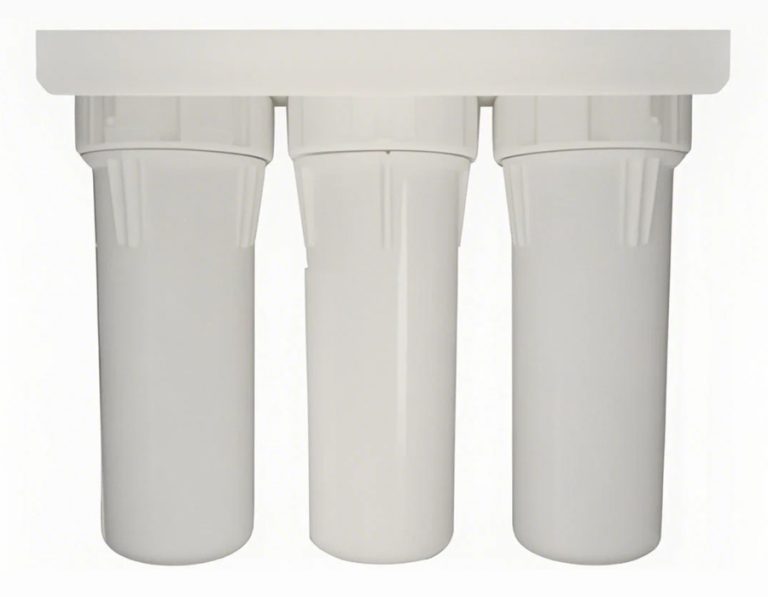
- Locate the membrane housing (usually a capped cylinder).
- Use a wrench to unscrew the housing cap.
- Pull out the old membrane. Note its orientation—installing RO membrane correctly depends on aligning the new one the same way.
Caution: Dispose of the old membrane responsibly, as it may contain contaminants.
3. Installing the New RO Membrane
Follow these steps for how to install RO membrane properly:
- Lubricate O-rings: Apply silicone grease to the housing’s O-rings to prevent leaks.
- Insert the membrane: Align the membrane’s tapered end with the housing inlet. Push firmly until seated.
- Secure the housing: Tighten the cap with a wrench, avoiding over-torque.
Pro Tip: Double-check the flow direction—most membranes have arrows indicating proper orientation.
4. Testing the RO System Post-Installation
After installing RO membrane, run these checks:
- Reopen the water supply and let the system pressurize.
- Flush the membrane for 10–15 minutes to remove preservatives.
- Inspect for leaks around the housing.
Troubleshooting: If water tastes odd, repeat flushing. Ensure no air pockets remain in the housing.
5. Maintaining Your RO Membrane
Extend its lifespan after installing RO membrane:
- Replace pre-filters regularly (sediment + carbon blocks).
- Monitor water pressure (ideal: 40–80 psi).
- Sanitize the system annually to prevent biofilm buildup.
Warning: Avoid hot water inputs, as heat damages RO membranes.
how to install ro membrane
Technical Parameters Related to RO Membrane Installation
RO membranes are designed to filter out various contaminants based on their pore size. The standard pore size of an RO membrane is extremely small, typically around 0.0001 microns. This allows it to remove particles such as bacteria, viruses, and dissolved salts. When installing an RO membrane, it’s important to note the flow rate. A common household RO membrane has a flow rate of about 50 – 100 gallons per day. If you install a membrane with a flow rate that’s too low for your household’s water usage, you might experience slow water output. On the other hand, a membrane with a flow rate that’s too high may not filter the water effectively.
Frequently Asked Questions (FAQ)
Can I install an RO membrane myself?
Yes, you can. With the right tools and following the manufacturer’s instructions, many homeowners can install an RO membrane. However, if you’re unsure or uncomfortable with DIY projects, it’s advisable to hire a professional.
How often should I replace the RO membrane?
Typically, RO membranes should be replaced every 1 – 2 years. But this can vary depending on factors like water quality and usage. If you notice a significant decrease in water flow or a return of bad taste, it might be time to replace the membrane.
What if I install the RO membrane incorrectly?
If installed incorrectly, the RO membrane may not function properly. It could lead to poor water filtration or leaks. So, it’s important to double – check your installation steps and, if possible, test the system for any issues before fully relying on it.
Why is my RO system leaking after installation?
Likely due to misaligned O-rings or loose housing—recheck steps for how to install RO membrane.
Attention:
- During installation, avoid physical scratches on the membrane caused by metal debris, PVC debris, etc. in the pipeline.
- Ensure that there is no organic release from the contents of the water tank, and if necessary, soak it in hydrochloric acid with pH=2 for 24 hours.
- Before installing the new membrane, replace the filter element inside the security filter to prevent the contaminated filter element from further contaminating the membrane.
- By following the above steps and precautions, the smooth installation and effective use of reverse osmosis membranes can be ensured.