One stop supplier of water treatment parts&accessories


Reverse Osmosis Filter Maintenance Guide: Tips for Long-Lasting Filters
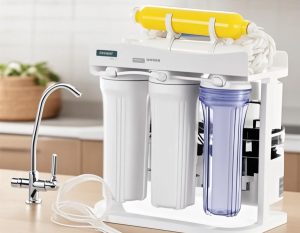
Reverse Osmosis Filter Maintenance,Alright, so the water at my place started tasting a bit funky, and I figured it was probably time to mess with the reverse osmosis filter. I’m no plumber, but I’m pretty handy, so I decided to tackle this myself. Here’s how it went down:
Gathering My Stuff
First things first, I needed to get my act together. I made sure I had:
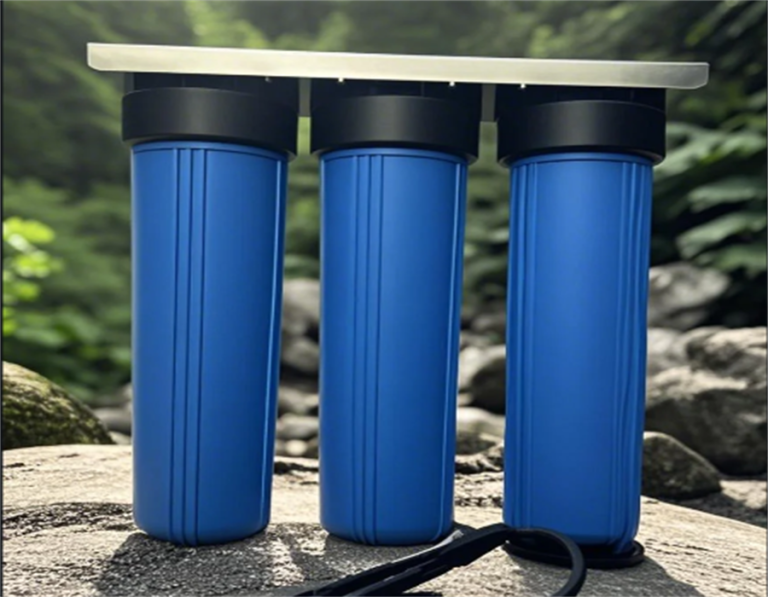
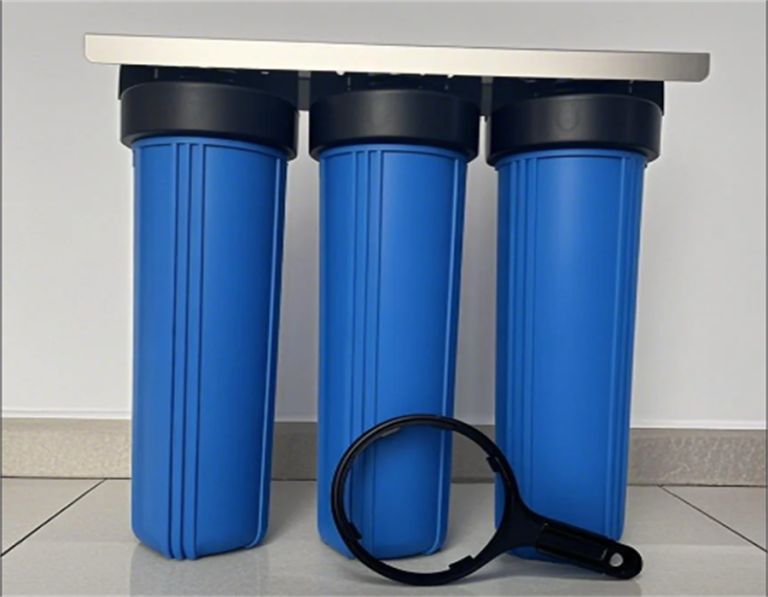
- New filters (sediment, carbon block, and the RO membrane – the whole shebang)
- A filter wrench (sometimes those housings are on there TIGHT)
- A bucket (for the inevitable spills)
- Some towels (again, spills)
- A bit of food-grade silicone grease (for the O-rings)
- My phone (to take pictures and look up stuff if I got stuck)
Shutting Things Down
Before I did anything else, I shut off the water supply to the RO system. There’s usually a little valve under the sink. I turned that bad boy off. Then, I opened the RO faucet on my sink to relieve any pressure in the system. Gotta let that water out.
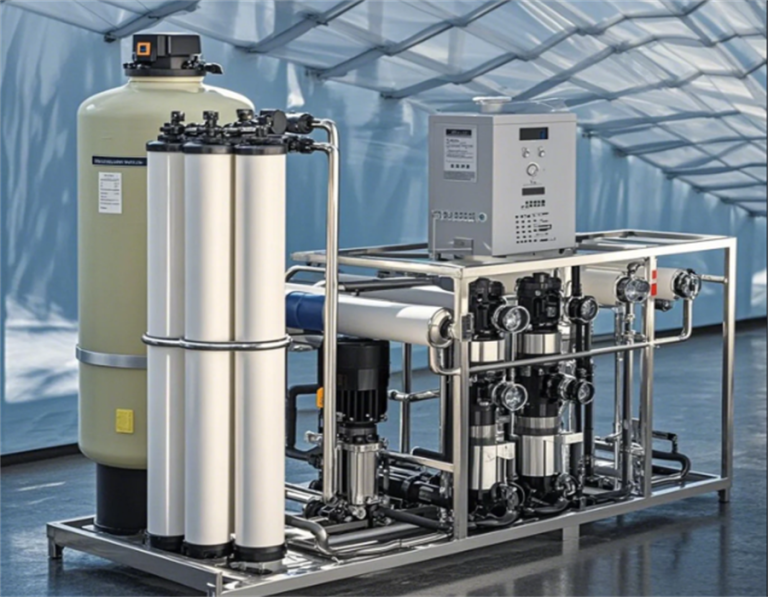
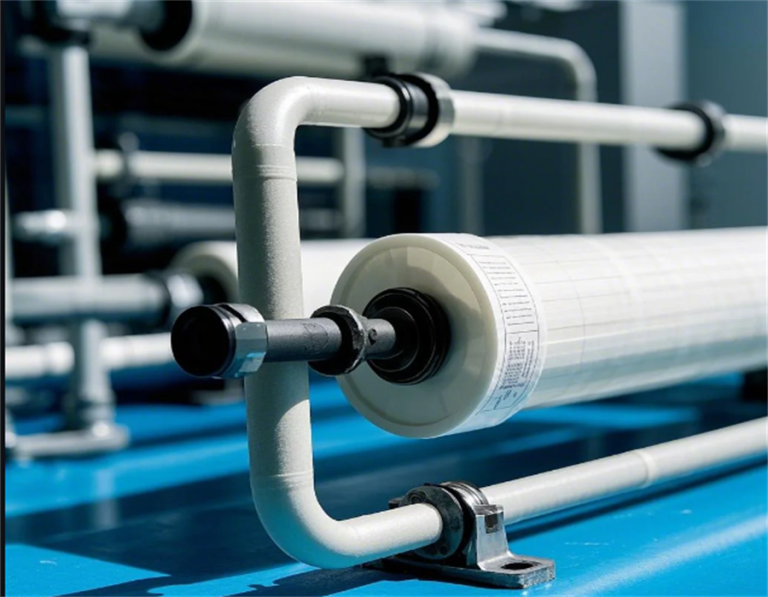
Reverse Osmosis Filter
The Dirty Work
Okay, here’s where it got a little messy. I put my bucket under the filter housings. Then, using the filter wrench, I loosened each housing. Man, some of them were really stuck on there! Once they were loose, I carefully unscrewed them by hand, trying not to spill water everywhere (I mostly succeeded).
I dumped out the old water and pulled out the old filters. They looked pretty gross, which confirmed I was doing the right thing.
Putting in the New Goodness
I rinsed out the filter housings with a little water – no soap needed. Then, I popped in the new filters, making sure they were seated properly. The sediment filter usually goes first, then the carbon block, but your system might be different, so double-check.
Before I screwed the housings back on, I lubricated the O-rings with a tiny bit of that silicone grease. This helps create a good seal and makes it easier to unscrew them next time.
Then, I screwed the housings back on, hand-tightening them first, and then giving them a final snug with the wrench. Don’t overdo it!
The Grand Finale (and the Waiting Game)
With everything back together, I slowly turned the water supply valve back on. I checked for leaks around the housings – all good!
I let the RO faucet run for a good few minutes. The water was a little cloudy at first, but that’s normal. It’s just air bubbles and stuff getting flushed out.
Finally, and this is important, I let the system fill up the storage tank completely. This can take a few hours. Once the tank is full, you should be good to go with fresh, clean water. And I did the taste is very better!
That’s pretty much it! It wasn’t as hard as I thought it would be. Just take your time, be careful, and you can totally do this yourself.