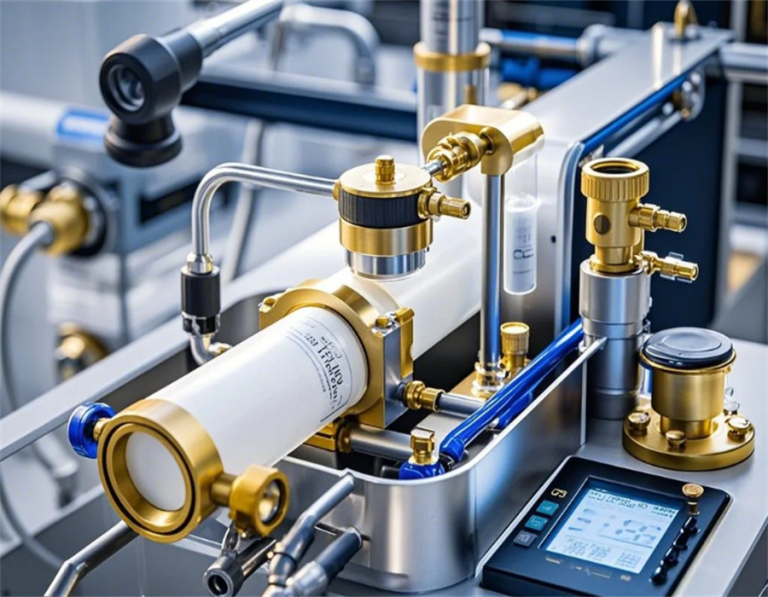
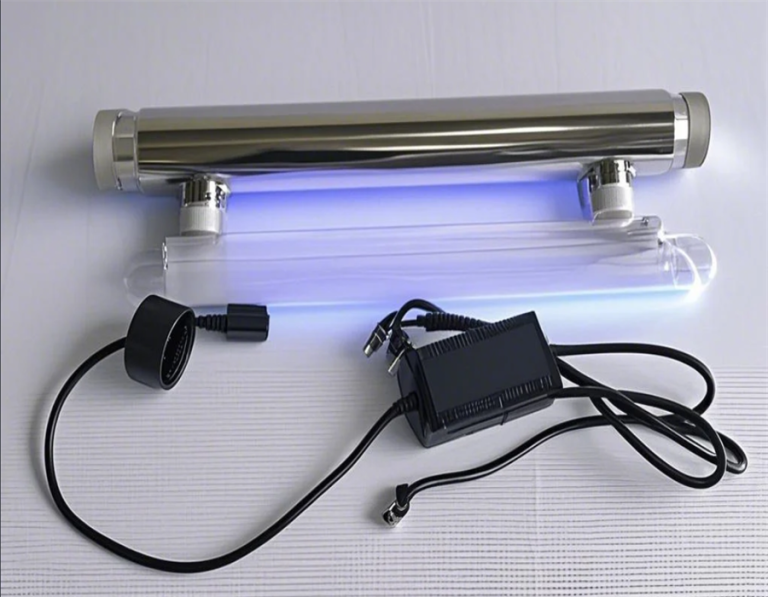
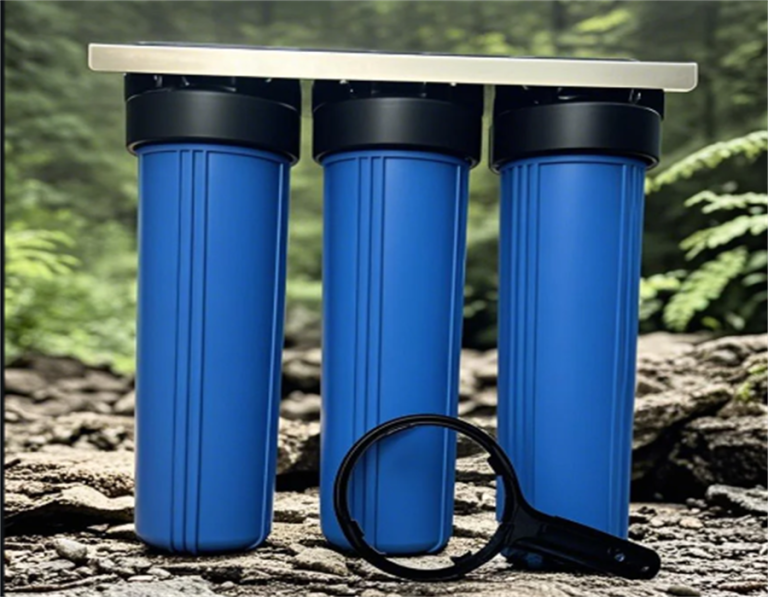
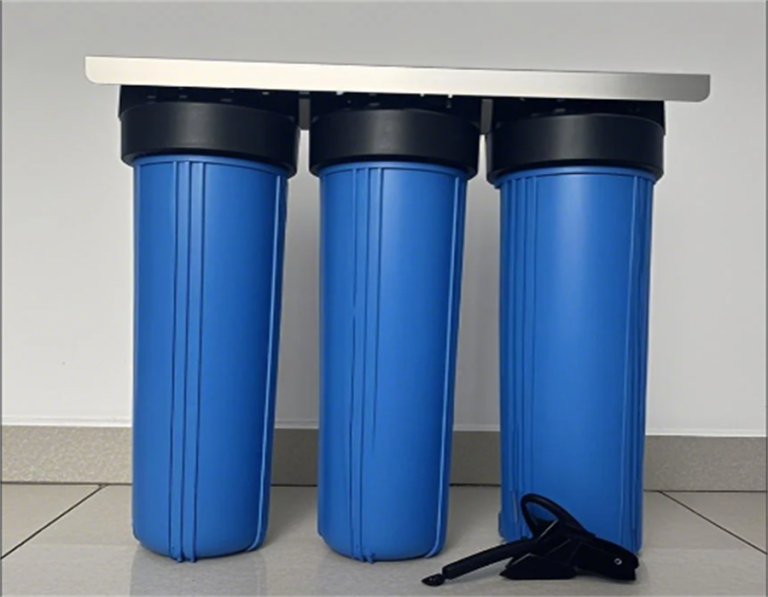
One stop supplier of water treatment parts&accessories


Top Water & Wastewater Treatment Tips (Easy-to-Understand Guide).
Okay, so I’ve been knee – deep in Water & Wastewater treatment experiments lately, and I thought I’d document my journey. It’s been a wild ride, full of unexpected discoveries and a steep learning curve, I gotta say.
Diving into the Basics: Sampling
To kick things off, I needed to get a solid understanding of the substances I was working with. Although “Water & Wastewater Treatment ” might seem straightforward at first glance, it’s actually a vast field with a plethora of processes and techniques. I began by gathering water samples from a nearby creek. Using some old jars, I simply scooped up the water, nothing too elaborate. Additionally, I collected wastewater from my own home, mainly dishwater. This initial step was crucial as it provided the raw materials for all my subsequent experiments.
The Kitchen – Lab Shenanigans: First Filtration Attempts
My improvised “lab” was none other than my kitchen counter. Equipped with some coffee filters and cheesecloth, I embarked on my first filtration attempts. As I started filtering, I was shocked by the amount of gunk that emerged. It was disgusting yet strangely captivating. I truly felt like a mad scientist, pouring, filtering, and observing the transformation of the water.
After that, I decided to get a bit more experimental. I added some alum, the same stuff used for pickling, to one of the wastewater samples. I had read online that alum helps clump together impurities, making them easier to remove. And to my surprise, it worked like a charm! Within a few hours, the water became noticeably clearer. This simple experiment opened my eyes to the power of chemical processes in water treatment.
Leveling Up: Building a DIY Filter
Feeling more confident, I then took on a more ambitious project – building a mini – filtration system. Using a plastic bottle cut in half, I carefully layered different materials inside: gravel, sand, and activated charcoal (which I made by smashing up some charcoal briquettes). When I poured the pre – filtered water through this homemade filter, I was thoroughly impressed. The water that emerged was far cleaner than I had anticipated. Although it wasn’t perfect, the improvement was remarkable. This project taught me the importance of multi – stage filtration and the unique properties of each filtering material.
The Ups and Downs: Results and Mishaps
When it came to the results, the simple filtration with cloth and coffee filters effectively removed the large, visible particles. That was an easy win. Moreover, the alum experiment proved to be a great success, as it significantly reduced the cloudiness in the wastewater. My DIY filter, however, was the real highlight. It demonstrated how a combination of different materials in layers could enhance the water – cleaning process.
Nevertheless, I didn’t escape without a few blunders. For instance, I accidentally spilled one of my samples all over the floor. Talk about a messy situation! Additionally, I think I overdid it with the alum in one batch, as it made the water appear oddly milky. But as they say, mistakes are the best teachers. I’m still in the thick of learning, and this is very much an ongoing adventure. I’m now contemplating growing some algae to see if it can further improve water purification. It’s a messy, sometimes smelly, but always fascinating journey!